Showing posts with label canning. Show all posts

Saturday, April 28, 2012

THE FIRST TIME IS ALWAYS SCARY

Last year I got this great pressure canner for my birthday.  My birthday is May 22nd.  I just used this for the first time yesterday.

Why did it take me so long?  Well, to be honest, I was scared. 

I had heard stories for years about how a pressure canner can explode and how people have really gotten hurt because they used them when they didn't really know how.

So, I waited and waited and waited.  Then I finally got the nerve up.

I have done a lot of research on line about the different types of pressure canners, how to use them and if they are are really safe.  Yes, they are.  As long as you use them how they are meant to be used and you are careful.

They are much safer then they used to be and really easy to use.


Watch a few videos on YouTube if you are scared.  Soon, you will get the nerve to try pressure canning too.

I love beans and so that is what I started with.  Pinto beans.

I had no idea what to do with them.  I never cooked them normally before, let alone try to pressure can them.

I used 4 lbs of dried beans.  I washed them off and pulled out the bad looking ones.  Then I put them in a big pot, covered them with water and let them soak over night.

Wow!  Those suckers soaked up a lot of water and what was 1/2 pan full of beans turned into a full pan.  The pan was so full, I ended up using two pans to cook them.

I rinsed them off again and then put them in two pots, covered them with water and added some garlic powder, onion powder, bay leaf and a little bit of canning salt.

I boiled them for 1/2 hour.  Make sure not to hard boil them as they will end up breaking in 1/2 and the skin comes off.  You can see some of my beans did that even though I used a gentle boil.

Don't cook them longer then 30 mins.  They will finish cooking in the pressure canner. 

Make sure your jars are clean and hot.  Fill up the jars with your beans.  Make sure you leave enough room for juice and for the beans to expand.

Add the hot juice from your cooked beans.  Make sure you leave 1/2 inch head space. 

Seal up the jars and put them in your pressure canner. 
Add boiling water to your canner to the line that it says in your book that comes with your canner.  Each canner is different so be sure to follow the directions for your canner.

Put the lid on and lock it.  Then heat up the canner.  Leave the weight off at first.  You want to see steam coming up for 10 mins to get all the air out of the canner.  Then you add the weight and get your pressure up to 10 pounds.

Make sure you keep the pressure at 10 pounds for 75 mins.


I found I had to sit near by to watch the canner.  It was hard to keep the heat right at 10 lbs.  It would slowly start to go up to almost 11 pounds so I ran and turned the heat down.  Just a tiny bit.

If you turn it down to much, the pressure drop.  If it drops to 9 pounds psi you have to start your time all over again. 

Thankfully I caught mine before it went below the 10 pounds psi.

This was the hardest part of the whole canning day.  Making sure it was at 10 lbs the whole time.

After you cook them for 75 mins.  turn off the heat, move the canner to a cooled burner and let it sit until the pressure drops down to zero.  Make sure the gage says zero and your pop up button on the canner drops down.  This will take about 20-30 mins.

Don't open the canner yet!  Remove the weight and let it sit another 10 mins. 

Then open your canner.  Be sure to open the lid away from you as the steam will still come out and you don't want to get burned.

When you remove the jars, be careful as they are very hot.  In fact, my jars were still boiling inside.

Listen for the pop sound as the jars seal. 

Do not move them for 12-24 hours.  Then you can remove the rings, check the seals and wash the jars off.


That's it!  You now have fresh beans to use in soup, burritos or how ever you want to.

The 4 pounds of dried beans ended up making 15 pint jars.  I only pressure canned 14 of them.  I left one out and just put it in the refrigerator.

I had it tonight for dinner.  They were wonderful! 

I'm so happy I finally got brave enough to use the pressure canner.  I am no longer scared and I have a list a mile long of things I now want to can.


Tuesday, August 23, 2011

GETTING CANNING SUPPLIES FOR CHEAP OR EVEN FREE

When I first started canning, a few years ago, I didn't have any "proper" equipment. 

I started out making jam.  I just used a large pot I had, poured the hot jam into the jars without a funnel(yes I burned myself many times), used regular tongs to pick up the hot jars out of the water bath and so on.

I also didn't have any canning cook books.  I just would use the recipes that came with the pectin I was using.

Everything turned out just fine.  Though it did cause more work (and pain) for me.

However, if you are like me, you don't want to spend a lot of money buying stuff for a new hobby if you are not sure you will like it.

That is why I'm posting about this now.  For you who have not canned because you didn't think you had the right supplies and didn't want to buy things right now.

My advise to you is...get the things you need for free.


Yes, you heard me.  I said FREE.  I got lots of things for free by posting an ad on FreeCycle. 

So many people used to can and no longer due.  So they are willing to pass along what they have.

Like this big canning water bath and inside it even has the rack to lift the jars out of the hot water.


I got free jars and some even had the rings with them.  If not, they don't cost much.  A lot less then buying jars.


I got some free lids and a proper jar lifter/tongs.  Trust me, it's much easier to use these then just regular tongs.  These kind grasp the jars and you are less like to drop them.


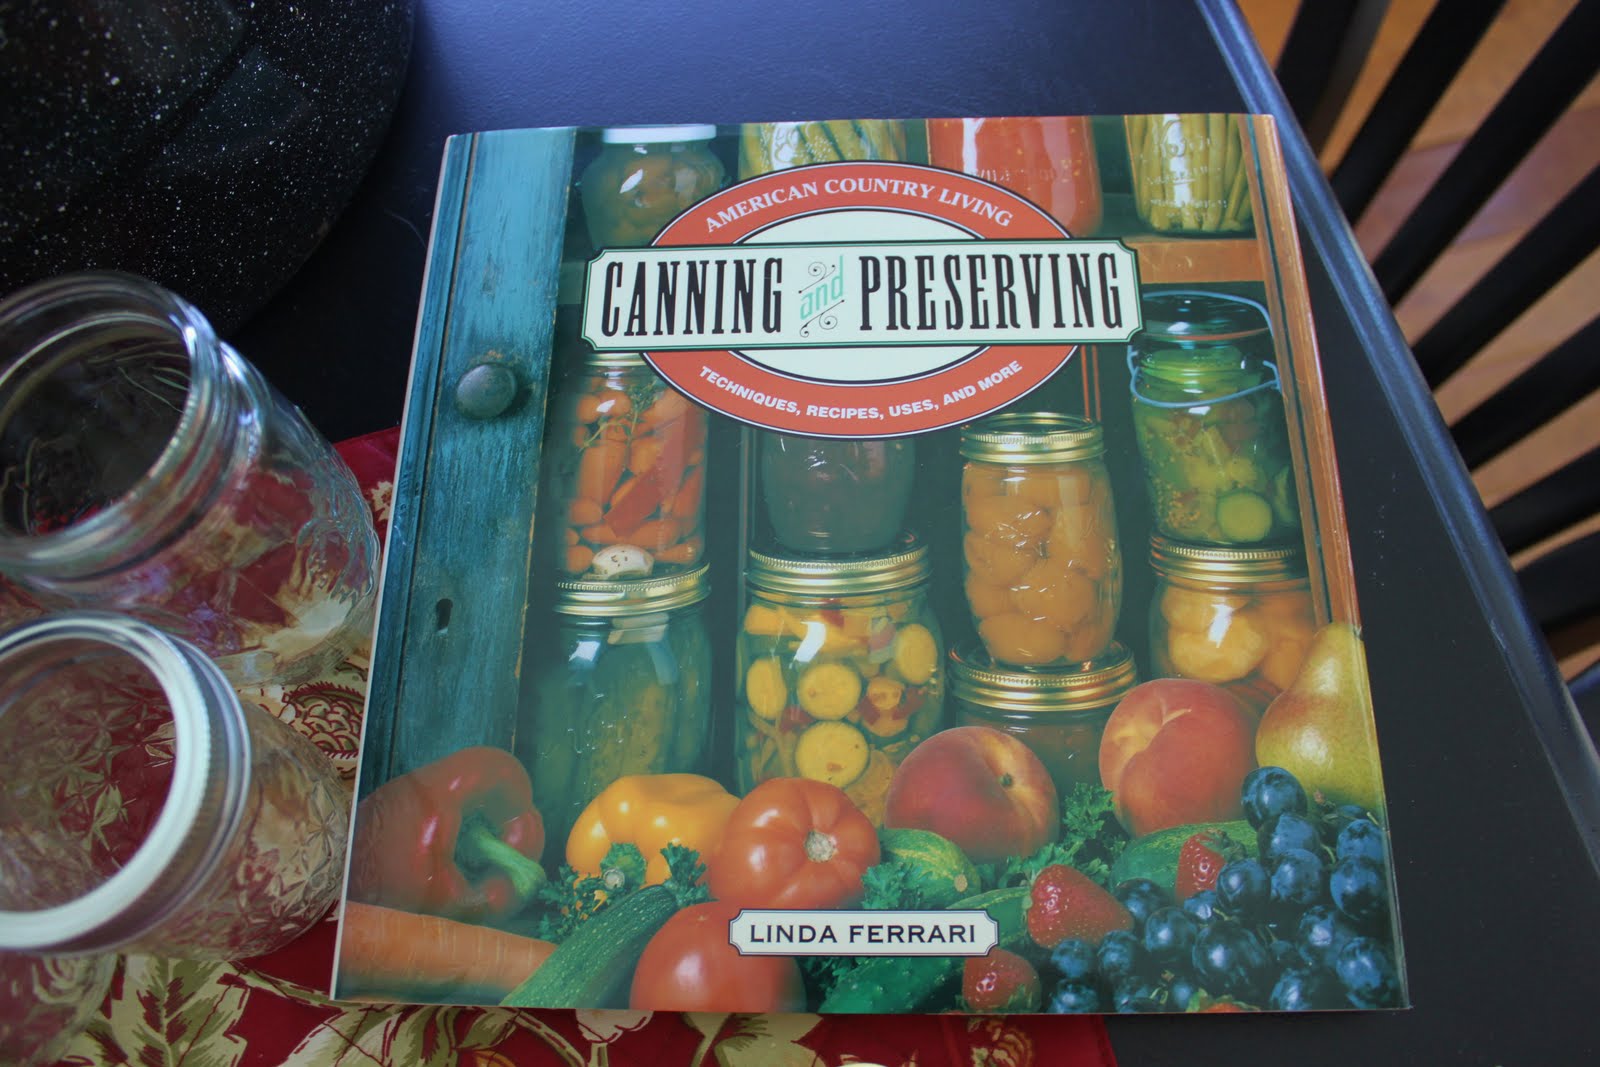
One lady even gave me a cook book on canning and preserving.  There are a lot of great recipes in this book.

You could also post a wanted ad on Craigslist, ask friends/family, go to garage sales and estate sales.  Even sometimes you can find items at thrift stores for next to nothing.

So, don't let not having the proper equipment stop you from trying your hand at canning.  Yes, the proper equipment does make it nicer and easier but you don't have to go out and spend a lot of money.  You can make due with what you already have.

Once I found out how much I loved to can I did go out and buy most everything I needed.  Getting the free stuff was great though because now I have a back up system, I can have others help me can and get done in 1/2 the time or I can teach my girl scouts how to can and we will have enough equipment.

The only thing I really still want to get is a pressure canner.  That way I can can soups, sauces and veggies.  I've already put it on my Christmas wish list.

I hope you will think about canning if you have never done it before.  Things taste so much better when you make it yourself.

Monday, August 22, 2011

IF JAM IS TO MUCH WORK, TRY CANNING GRAPE JELLY

Jelly is much easier to make then jam.  You just use juice rather then the whole fruit. 

If you don't make your own juice then making jelly is pretty darn fast.

I love grape jelly.  But, the only kind I like is Welch's grape jelly.  The other brands just don't thrill me. 

I had thought about making my own juice with fresh grapes but that just seemed like to much work for me to do right now.  Besides, what if I didn't like it either. 

I thought that maybe if I used Welch's grape juice it would turn out like Welch's jelly.   After I started to make the jelly, I noticed, it wasn't really grape juice I had.  It was actually a "Concord Grape Flavored Fruit Cocktail".

What!  I turned it over and saw it was a blend of three grapes, water and sugar.  I wasn't sure what was going to happy to my jelly now.  Yet, I carried on to find out.

I got my jars ready in the hot water bath.

The lids were on simmer, getting the rubber ring nice and soft.

I had my CERTO/pectin open and ready to be poured.


Then I poured in four cups of juice and 7 cups of sugar in the pot and mixed it well.

Even though my jelly recipe does not call for lemon I thought since I wasn't using fresh grapes, I would go ahead and add it.

I put in 4 tablespoons.  NO, you can't taste it once it's all mixed in.

I then brought it all to a boil and added in the CERTO/pectin.  I let it come back to a boil and stirred it for one minute. 

I poured the hot jelly into the hot jars.  Be careful!  Don't burn yourself.  Pour your jelly into the funnel and don't just dump it all right in or it will splash up and burn you.  Pour the jelly onto the funnel and let it pour in that way.

Put the lids and rings on your jars and then process them in a water bath for 10 mins.  Remove and let cool.

That's all there is to it!  You will have 7 to 8 jars of fresh made Grape Jelly.


I had a little bit of jelly left over.  Not enough to pour into a jar.  I just poured into a little bowl and stuck it in refrigerator.  I checked it after it was cold.  It set perfectly and the taste was soooo good!

I knew I had a winner here!  So, I made another batch for gifts. 

I really hope you will try this recipe too.  It's quick.  It's easy and it's oh so good!

I'm linking up to Canning Week.  You can go read about what everyone else is canning by clicking on here.


Thursday, August 18, 2011

HOW TO MAKE DILL PICKLES


I hope you are enjoying the posts about canning.  From the emails I've been getting I think you are.

So, today I thought I would share how to can pickles.

This was the first year I've made my own pickles and to be honest, I have not yet tried them but they sounded really good to me and they are so easy to make.

Start with washing all your cucumbers.  Make sure you use the pickling cucumbers and not the normal ones you find at the grocery store.  They have been waxed and will not allow the brine to soak through properly.  Plus, they have to big and to many seeds.

Cut your cucumbers into the shape you wanted.  I cut them in spears and into "chips" for hamburgers and sandwiches.   You could leave them whole too it you like.

Just make sure you cut off the tip of the cucumber where the flower was attached.  For some reason this section has some enzymes in it that doesn't do well when making pickles.

You are going to need pickling or kosher salt.  Do not use table salt as it will not work well in this recipe.

To make the brine, you will need 2 cups of white vinegar and 2 cups of water.  Add 2 tablespoons of salt and bring it to a full rolling boil.

While your brine is boiling, get your jars and other ingredients together.


Place one garlic clove and some fresh dill (you could also use dill seeds) to the bottom of the jar.  Then pack in your cucumbers.

Be sure to pack them pretty tight.  This will keep your cucumbers from floating in the brine when you add it.

Once they are all packed, it's time to pour the hot brine into the jars.  Use a funnel and pour slowly to allow the brine to get all the way to the bottom of the jars. 

Fill the jars, leaving 1/2 inch head space at the top. 

Use a knife, small spatula or bamboo skewer and press the cucumbers together to get any trapped air bubbles that may be in your jar. 

After doing this, you may need to top off the jars with more brine.

Wipe the rims of the jars, set the lids on and tighten the rings. 

Place jars in your boiling water canner and process for 10 minutes.  Lift them out and let them sit.


Once you hear the pings of the jars being sealed you are done! 

No wait!  Don't eat them yet.  I know you will want to but you must wait at least 2 weeks.  Waiting even longer will make them even better.

These will last in a cool dry place for at least a year.

I have one more week then I can't wait any longer.  I'm going to open up a jar and try them out.

I'm linking up to Show and Tell over at My Romantic Home and Foodie Friday over at Designs by Gollum.    Please stop by and see what other fun things people are showing.

Wednesday, August 17, 2011

CANNING PEACHES

Summer fruits are so good.  The only bad thing is they don't stick around for very long. 

Soon, summer will be gone and so will the sweet flavor of the fruits. 

In order to savor those wonderful flavors all year long you can can them. 

I've shown you how easy it is to turn fruit into jam.  If you missed it, you can find it by clicking on here.

Some of you may not like jam or you have already mastered the art of canning jam.  So, it's time to move on to other things.

Today, I'm going to show you how easy it is to can the fruit directly.  Yes, it's even easier then making jam.


First you need decide how many jars of peaches you want to can.  I had purchased a case at Costco.  I forget how many are in there.  I think maybe about 15 or so.

Peel the peaches and slice them however you like.  You can cut them in 1/2 if you like but I like my peaches in slices. 

Make sure you remove the skin on all the peaches and remove the pit.


You then need to make a syrup.  I found a heavy syrup is what I like. 

For a heavy syrup you use:

4 3/4 cups of sugar
4 cups of water

Then bring it to a boil.  Once it is boiling, add your peaches.  Stir and bring back to a boil.  Once you have a boil with the peaches, you are ready to can them.

Remove the hot peaches from the stove.  Pour into your prepared hot jars.  Seal and put it a water bath for 25 mins.  Remove from the heat and set aside to cool.


That's it!  Now you have fresh peaches to enjoy all year long. 

I've linked up on the Canning Week.  Go here to see other yummy canning recipes.

Monday, August 15, 2011

TEACHING THE NEXT GENERATION TO CAN ~ MAKING APRICOT JAM


I've been making jam for several years now and I adore it.  Every year I get excited when the Summer fruits start popping up because I know that means yummy homemade jam is just around the corner.

The only thing I regret about canning is that I didn't learn how to do it sooner.  I always thought it was so hard. 

I was wrong!  It's a bit scary at first but once you learn the steps, it's easy as can be.  Yes, it does take time and you are tired when you finish but it is EASY.


I've taught several friends and family how to can.  It is more fun if  you do with someone else.  Plus, it's less work if you have someone to share it with. 

Yet, no matter if you can with someone or alone, it is still easy.    Still not sure if you believe me or not.  I'll prove it to you.

I had my 10 year old niece come over and taught her how to take these apricots and starting with washing them, she did every step it took to make her own batch of jam.


I love that she came over wearing shades of orange.  It matches the jam we were making.  Even the apron she is wearing has an apricot on it.  To cute.

Anyway, back to making the jam. 

She cut the apricots herself.


Took the pits out.


Ground them up in the food processor.  You could just cut them up by hand if you don't have a food processor.

She measured out the fruit, sugar and even squeezed and measured the lemon juice.


She added everything to the pot and mixed it together.

She cooked the ingredients in a pot and stirred it until it came to a boil and added the pectin.  Stirred one more minute and then removed the pot from the stove.  OK, I actually removed the pot from the stove because I didn't want her to get burn or drop the hot mixture.


She poured the hot jam into the jars. 

She made sure to leave enough room from the top of the jar.

I did step back in to help her put the jars into the boiling water bath.  Sometimes the water pops up and let me tell you...it's hot!


Ten minutes later, her jam was finished and we listened for the popping sounds to let us know the jars all sealed properly. 

I told her, when she gets married,  her husband will be happy that she makes homemade jam for him.

She looked up at me and said "Forget about the husband!  I'm making jam for myself.  If I get married my husband will be lucky if I share it with him."

I had to laugh at her.  She can be so funny at times.

So there you have it.  If a ten year old can make homemade jam, you surely can.  I promise you won't be sorry if you do.  I can also promise, once you eat jam you make yourself, you will not want to eat store bought jam again.

The recipe we used is:

3 1/2 cups very finely chopped apricots.  Leave skin on.
1/3 cup fresh lemon juice
5 3/4 cups sugar
1 pouch CERTO (liquid pectin)

Add all ingredients except CERTO to pan and bring to a boil.  Stir so it does not burn.  Once you have a full boil, add the pouch of CERTO.  Bring back to boil and cook for 1 min.  Do not over cook or under cook as it won't set properly.

Then pour hot jam into jars, seal with lids and cook in water bath for 10 mins.

Be sure you learn about how to prep your jars and lids before you start to make your jam.

If you have any questions, let me know.  I would be happy to answer any of your questions.

I've linked up to Canning Week and you can go here to find more yummy posts.
I'm linking up to Made From Scratch Tues. over at From Mess Hall to Bistro.  If you have not been there, go over and vote for your favorite recipe.