Saturday, June 15, 2013

TIPS ON MAKING FRENCH MACAROONS


 I fell in love with French Macaroons a few years ago.  At first, I was intrigued by the many flavors and colors they came in. 

When a little French bakery opened up by me, I was thrilled to discover they had the beautiful little cookies.  I tried all of the flavors and if asked which one was my favorite, I don't think I could answer that question.  They were all wonderful.

As time went by and I tried others, I found that some didn't have as nice a flavor as others.  That is when I first wanted to learn how to make my own so I could try to find the one recipe I loved the most and have it become my standard go to recipe.

Yet, I heard they were hard to make, let alone master.  So time went by and I never tried to make them.   I was scared to spend all the time only to have them flop on me.

Then I got the email!  An email from a good friend of mine who had taught me so much about baking cakes and making gum paste flowers when I was doing cake decorating.

He asked if I wanted to come over and learn to make French Macaroon from him.  I was so excited!  I couldn't answer his email fast enough.  YES!  I wanted to learn.

Today, was the day.  I had so much fun.  I learned a lot and found out that they are not as scary to make as I thought they were.  But there are some things you must do in order to have them come out right.


There are tons of different recipes out there for French Macaroons.  Since everyone has different taste, I figured that rather then just post the recipe we used, I would let you pick your favorite recipe and use that.

I am gong to share the tips you need in order to make sure your cookies come out great.

First, you want the cookies to have the same size.  To make sure you do this, make a pattern of circles in the size you want your cookies to be. 

Put it on your cookie sheet and then place your parchment paper on top.  That way, you can see how much batter you need to pipe for each cookie.


 You will need to use almond flour.  If you are like me, you have no idea where to get this.  Most normal grocery stores won't carry it. 

You can find it in places like Bristol Farms and/or Sprouts.  If you can't find it, you can always order it on line and have it shipped to you.

Or, you if you like, you can make your own.  Just take raw almonds and grind them up in your food processor.  Just make sure you don't over process them or you will end up with almond butter.  Which wouldn't really be that bad since almond butter is wonderful.  It's just not what you are going for here.

After your almonds are ground up, you will need to sift them several times to make sure you get all skins and bigger pieces removed. 

Once this is done, you have almond flour.


 You want your batter to be very smooth so make sure to sift your almond flour and powdered sugar three times.  Yes, three times.  Don't skip.  It's not worth it.  You don't want to go through all this work only to have a lump or two in your batter.

My advice is to also weigh all your ingredients rather then using measuring cups.  This way, you will have the right amounts and every time, your cookies will come out the same.


 You are going to need to whip your eggs.  Start with room temperature eggs.  They will whip up much faster and nicer. 

If you forgot to remove your eggs and they cold, put them in a glass of warm water for a few minutes.  They will warm up much faster.


 Whip your eggs until they form stiff peaks.  OK, so this isn't the best picture but you can see the peaks are stiff and not falling over, even though they are smaller peaks.  You get the idea.  Right?


 When you fold in your whipped eggs to the flour and powdered sugar, be sure to "fold" them in and not go crazy stirring them.  You don't want to remove all the air out of your nice fluffy egg whites.

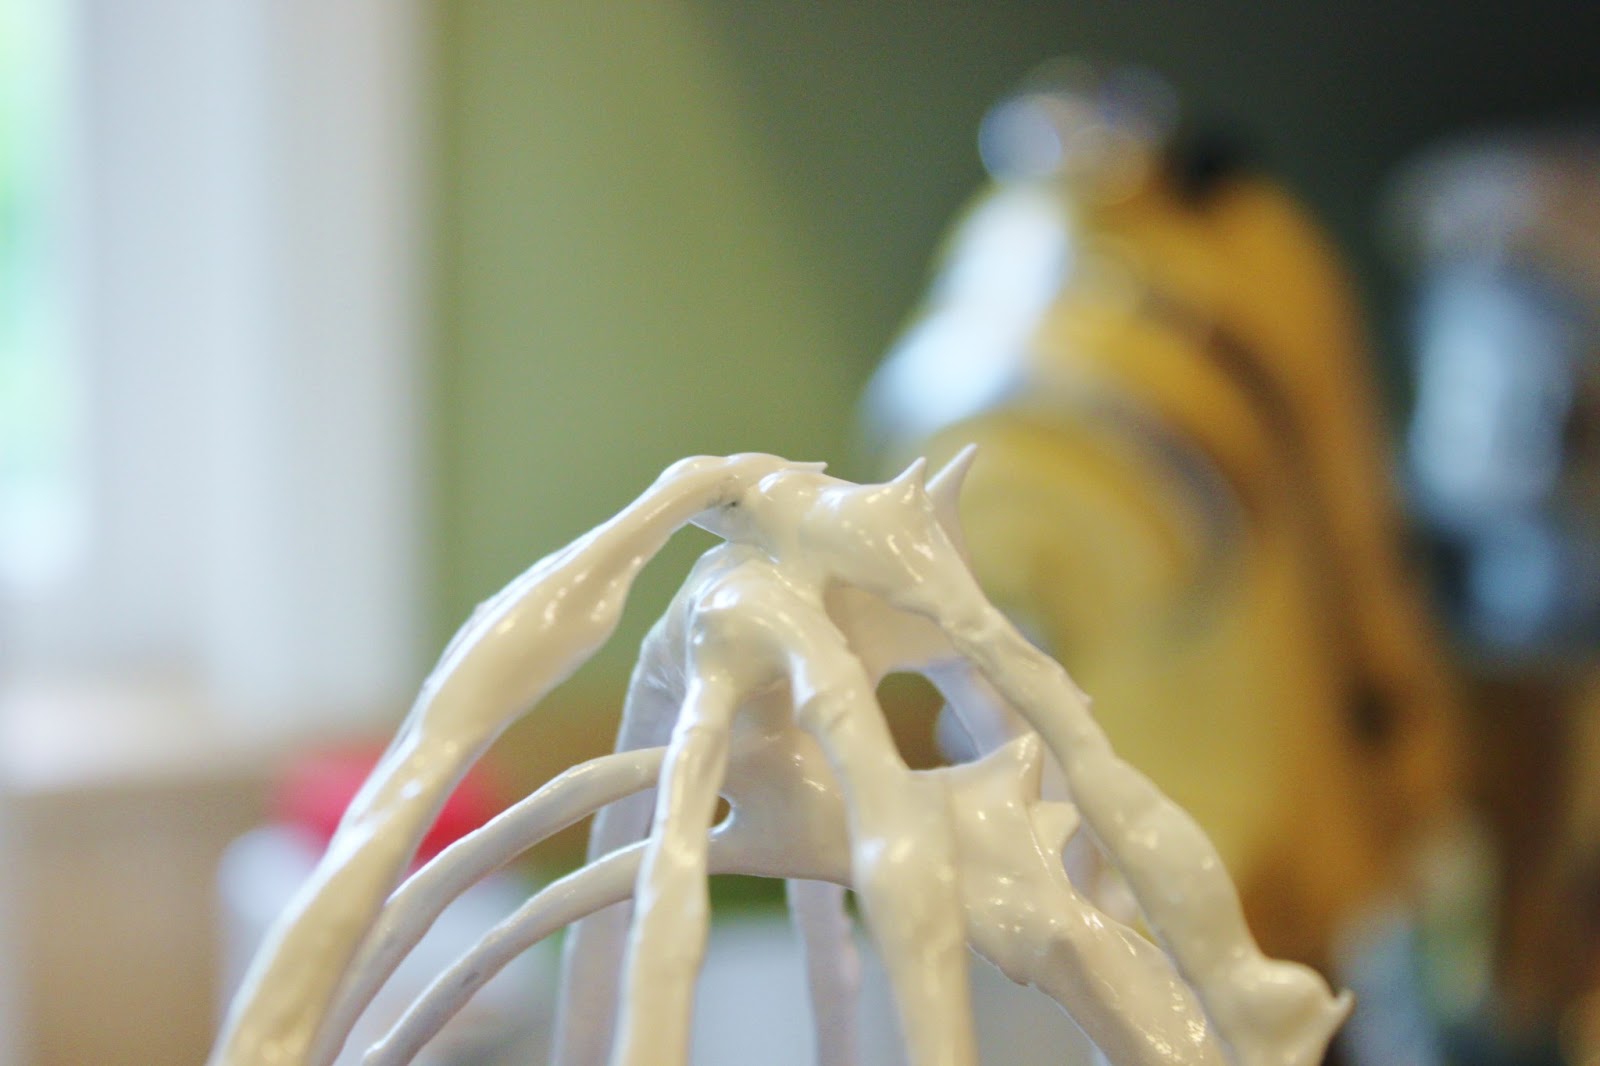
To fold, you scrape down to the bottom of the bowl, then turn the mixture over.  Keep doing that as you turn the bowl around.  Scrape and fold over.  Scrape and fold over.  Keep doing this until everything is mixed in well.


 It will then be time to pipe the filing onto the cookie sheet. 

No, you can't just plop the mixture down.  You want them to be nice circles and even in size. 

If you don't have piping bags and tips, don't worry.  You can still do this.  Just put the mixture into a zip lock baggie and cut the tip off one corner.  Not to much.  Just a little bit. 

Then you can pipe just as you would with the tips and bags.


 See the little peaks on the cookies?  Well, you don't want them there.  So take your pan and give it a few bangs down to help flatten them out.

Some recipes will have a softer, runnier batter and the peaks may just flatten out right away.  The recipe we used was a little thicker and we had peaks on most of the cookies.

Even if you don't have peaks, you will want to bang the cookie sheet a few times to help remove any unwanted air bubbles.

Don't go nuts and keep banging though.  You don't want to deflate your egg whites.  You will end up with flat cookies.

Which, by the way, if you do get flat cookies, cookies with peaks, uneven sizes or whatever, don't worry.  They still taste wonderful.  They just won't look as pretty.


 If your batter is a bit thicker, like ours was, then even after you bang the pan down, you will still have peaks on some of your cookies.

If this happens to you, just lightly wet your finger with a tiny bit of water and tap the peaks down. 

Just make sure you use a tiny bit of water.  In fact, shake it off your finger after you dip it so you don't get drips on your cookies.

If the batter sticks to your finger, you need a little more water.


 Now you have all your cookies piped out.  But don't put them in the oven yet.  You need to let them sit out a bit to dry out a little.

Depending on the weather and humidity, you will leave them sitting for about 30 to 60 minutes.

You will know they are ready for the oven when you can touch the cookies and they don't stick to your finger.


 It's time bake them.  Follow your recipe for the time. 

While they bake, open the oven door twice to let any steam out. 

Once your cookies are baked, remove from the oven and slide the parchment paper off the cookie sheet.  You don't want to let your cookies to continue to bake on the hot pan.

Don't remove cookies from parchment paper until cool though.


See how the bottom of the cookie has a different texture then the rest of the cookie?  Well, that is what you are looking for. 

This means your cookies were mixed properly and you allowed them to dry the correct time before you cooked them.

If your cookies come out flat without the different texture on the bottom, you over mixed your batter. 

If they come out lumpy on top, you under mixed your batter.

If they are cracked on top, you didn't remove all the air by banging properly and they are over cooked.


Once you have your cookies baked and they have cooled, they will lift right off the parchment paper by lifting them up.  Don't bother with a spatula.  You don't want to crack your cookies.

Just lift the cookies up with your hands.  If they stick a tiny bit, just bend the parchment paper away from the cookies.

If they don't come off the parchment paper super easy then your cookies are not fully baked.

It's then time to fill your cookies.  This is where you can have a lot of fun with fillings.  You can use, jams, curds, flavored butter cream, chocolate or any type of filling you want.

We used flavor butter cream.  We made, Key Lime, Peach and Passion Fruit as well as two different types of chocolate ganache.

They were all so good.


To fill your cookies, just take one, turn it upside down.  Pipe in your filling then put another cookie on top.

That's it!  It's now time to enjoy all that hard work by biting into a little bit of Heaven.


It's fun to make these different colors.  You can make them with a tiny bit of color (we actually used yellow in our batter) or you can make them as bright and deep in color as you like.

You will need to use more color then you think you will.  When we colored our batter it was pretty bright yellow but once all mixed up and baked you could hardly tell there was any color to them.

Use paste or powder colors.  Don't use water based ones.  Like the kind you find at most grocery stores.  They will add to much moisture to your batter and cause your batter to be to runny and your cookies will come out flat.


So have fun with your cookies.  Make them bigger in size or tiny bite size.  Mix up the colors.  Try different flavors.  Add real bits of fruit or nuts to your filling.

The choices are endless.

But, do try your hand at these yummy cookies.  If you have never had one you will be in for a treat.  They are a little crunchy outside but the middle of the cookie is a softer texture.  Then the filling gives a burst of flavor. 

One thing I must warn you about though...they addicting.  It's hard to stop at just one...or two...or three.

Wednesday, June 12, 2013

PRINCESS DIANA'S EXHIBIT ON THE QUEEN MARY


 I have always been a big fan of Princess Diana and was so sad when she was killed.  I found her to be beautiful, friendly, down to Earth and lovely.  She had such grace and of course her fashion style was always perfect. 

When I found out that there was an exhibit of her clothes at the Queen Mary I knew it was only a matter of time before I went there.

Yesterday, was the day I got to enjoy seeing, reading and taking in the exhibit.  It was much bigger then I thought it would be.


The above are only a handful of dresses you get to see. 


I found photos on line showing Princess Diana wearing those same dresses.  The blue dress originally had sleeves and a higher neck line because this was worn in the middle East.  But then, she had them changed and wore the dress again.  It really gave it a different look.

She was tall and slender.  So beautiful.

I have to admit I was taken back a little by some of the dresses.  They reminded me of dresses I've seen that were worn in movies.  They are beautiful and photograph well.  However, they seem a bit cheaply made or the material is not what you think it would like.

I have no doubts that every dress she wore cost a lot of money and were made by the top designers.  She looked great in each outfit she wore.  However, they just didn't all look so high quality as they did in photos and videos.

There was a lot of royal history in the exhibit and not just all about Princess Diana.  It was nice to see stuff there on the Queen Mother, Queen Elizabeth and even Prince Williams and Kate and Prince Henry.

The only down fall of the whole tour is that they do not allow you take photos.  I was able to snap a few and out in the gift shop but that was it. 

I enjoyed seeing the crowns and the gifts that the Royal family would often give to people.  They were not expensive gifts at all.  Things like a picture frame, a date book and even a fruit cake. 

There was one area that showed cards that Princess Diana had sent.  They were not the stuff type of cards you would expect a princess to send.  They were funny.  Even some a bit on the risky side.  They really showed her humor.

I really enjoyed going.  I hope if you get a chance to go, you do.  I hear there are exhibits with other items all over the world to enjoy.

I, for one, will always remember Princess Diana and now I feel like I got to know a little bit better.

Tuesday, June 11, 2013

BALBOA ISLAND


Living in So. Cal, we have so many wonderful places near by.  Places that people dream about going to on vacation.  Many people spend a ton of money come enjoy the near by beaches, attractions, restaurants and other tourist spots.

Today, I thought I would go and enjoy the day at one of those locations.  Balboa Island. 

There is a lot to see and do there.  Today, I went to go check out the cute shops and to enjoy a nice lunch.

Come along with me and I'll share with you a tiny bit of what I saw.

As I drove onto the island I crossed over on the bridge which is near Coast Hwy.

The actual street name is Marine Ave.   It was really cute as it was decorated for their upcoming 4th of July celebration.

What you can't see in this photo is beyond the walls are tons of beautiful boats docked.  There was to much traffic and no where to park or I would have snapped a photo to show you.

It was a perfect day out.  Clear blue sky, warm but not hot.  I couldn't have asked for a nicer day, weather wise to go.

Along Marine Ave is where you will find all the cute shops and restaurants.  It can be hard to find parking here.  I was super lucky and found a space right away.

When I first got there, the streets were not that crowded.  It was a great time to go shopping since the shops are pretty small and if there are to many people there, it's hard to actually get around to see everything.


This frozen banana shop has been around since 1945.  After 68 years, I would say they must be pretty darn good.  However, I was saving my appetite for lunch later in the day, so I didn't try them out.

I really felt like I was on vacation as I strolled into the shops. 


You could find almost anything you were looking for and tons of things you never even knew you wanted.  Like these pretty colorful rugs. 

Or, beautiful silk scarfs.


Of course, being in a beach town, there were tons of beach themed items. 


I loved these!  They are napkin weights.  You know, if you are eating outside and have napkins for people to use.  Put one of these on the stack of napkins and they won't blow away. 

They had tons of themes to pick from.

You could even buy napkins to match and a napkin holder to put them in.  So cute!

I think this would also make a cute gift.  Darn!  I should have bought a few for Christmas gifts.  Oh well, thankfully, I live near by and can always go back.


I love this sign.  It would be pretty easy to make yourself for not much money at all.  Or you could spend big bucks and buy it there.

I loved all the colors everywhere.  I really wanted to buy the straw bag but I was good and held onto my money.


I've seen this type of Italian pottery plates before.  They always cost a lot of money so I was really surprised at the low cost of these. 

I picked one up to see if they were fake or something and that is when I noticed they were not pottery at all.  They were Melamine.  You know those plates that you can toss to the ground and they won't break.

Wow!  They sure have come a long way with Melamine.  I remember growing up and we had a set but they looked like plastic from a mile away.  Not these!

These would be great to use outside or even to take on a picnic.  Hmmm, I think they would be another great gift.  What do you think?


There was the expected shell shop.  Doesn't ever beach town have at least one of these?


A wonderful candy shop!  They had every type of candy you could think of.  They had retro candy, sour candy, taffy, chocolate...you name it. 

I think this shop was the most crowded of all the shops I went in.

I think my favorite shop of the day was the one that had this bright purple wall full of these cute, silly, crazy clocks.  I couldn't help but smile as I looked at all of them.

But, like most of the items in the shops, they were pretty expensive.  At least for my budget.


Though not everything was expensive in the shops.  I came across a few shops like this one that had all the clothes on sale for only $15.00 or less.  They had some pretty cute things too. 

Even though I didn't buy anything, all the shopping/walking made me pretty hungry. 

I read about this place called Wilma's Patio.  The review said the food there was wonderful.  When I came across this restaurant,  I knew right away where I was having lunch.

It was really good too!  I want to go back for breakfast one day soon though.  I ordered a taco salad and they had the best salsa I've ever had.  But, when I saw the breakfast that most people were ordering (even though it was around 2:30pm) I knew they must be famous for their breakfast.  Everything look so good!


After eating, I was walking back to my car so I could go home and I noticed the police on Balboa Island gets around on bikes.  I'm sure with all the traffic and one way streets it's much quicker for them to get around that way.  How cute!

I plan on going back and will be hitting up a whole different area of the island.  I'll post about those trips when I go.

If you ever get a chance to come to Orange County CA,  I hope you will take a few hours or even a few days and visit Balboa Island.  It's a charming place to go to.

Friday, June 7, 2013

LET'S TAKE A CLOSER LOOK


I love walking around my garden and looking at all the pretty flowers in bloom.  I have to admit that I often see them in pots or planted in the ground and while they are pretty, I don't often stop to "really" take a look at them.

Today, I decided to take a closer look.  Once I did I noticed how they have so much detail that we normally don't even see.

Look at the color closely and in this flower you will see veins in a dark shade of pink then the flower is.  Check out that bright yellow in the center and how it almost looks like Mother Nature took a yellow highlighter pen to show us the area where the petals connect.


Do you know what this flower is?  Take a look at the jagged shape of it's petals.  Look at the center and how the middle is shorter then the outside.  It almost looks like little seeds are attached.


The flower drops it petals and turns into a yummy sweet berry.  These are black berries that are still forming.  Look at the detail in each little pod filled with juicy flavor. 


This little flower is actually made up of what looks like several tiny flowers.  Yet each one has beautiful coloring.  Check out that center.  It looks fake.  But, trust me it's real. 


These clusters of little flowers that form a larger bouquet look like silk plants when you get really close.  The tiny center look like a little ball of plastic that the flowers are attached to.

Things like this you don't normally notice when you walk by and just take note of the whole plant.


It's just breath taking when you really check out a flower close up.  Look at how this one is yellow then red and then yellow again with veins of red going through it.  Such detail!

As I stopped to really take a closer look at the flowers growing in my own garden, I was in awe of the beauty and art work in each flower.  I'm happy I actually took time to not only stop and smell my roses but I also took the time to stop and take a closer look.

I hope you will do the same, the next time you look at a flower, take a closer look.  I'm sure you too will be in awe of how much more beauty flowers have then we even notice on most days.

Thursday, June 6, 2013

IT'S HYDRANGEA TIME!


When I was a little girl, we had a big Hydrangea plant in our front yard.  I remember it well.  It had big pale pink flowers on it. 

I loved when they would bloom because I would pick them and pretend it was my bouquet when I played I was a bride.

I think that is when I first fell in love with this beautiful flower.


We have several Hydrangea plants in both our front and back garden.


This year they are all blooming like crazy and have gotten super big.  When we had a garage sale, last weekend, I can't tell you how many times people would come up and ask what our secrete is to growing such great looking  Hydrangeas. 

Our big secrete is...we don't have one.  Every year it's the same thing, water and feed them Miracle Grow.  That's it.

Some years they just do better then others.


Normally, the white ones are not my favorite but this year I find they are so lovely.  They are bright white and look like little puff balls of cotton. 


There are many different types of Hydrangeas.  This is a Lace Cap.   This one is doing great this year too!  The pink is so deep and pretty.

I've always wanted to try to change the color of our Hydrangeas to purple.  Did you know you could change the color depending on what you add to your soil?  Well you can.  To a point.  It depends on what type of Hydrangea plants you have.

It's best to ask at your garden supply store as to what to add for the type of your Hydrangeas.

The white ones can not be changed.  I believe the others can.  All the pink, purple and blue ones can change but they will some while change slightly while others will turn a deep shade.


This Hydrangea is at our front door.  It was pink but as it aged it turned to this great apple green color.  I love it.

It's really hard to pick a favorite Hydrangea because they are all so pretty.  Do you have a favorite one?